When you’re married to a photographer, there is no shortage of beautiful pictures to look at. Unfortunately, most of Adam’s photos are trapped on a computer and a backup drive. At best, they’ve seen the light of day on Facebook or Instagram.
Until! Late Saturday morning, Adam suggested we go for it – choose a handful of our favorite photos, print them out, frame them, and get them up on the walls (he’s a go-getter, this husband of mine). Within a few hours, photos were selected, edited, printed, and framed.
After we started looking around at our wall space, we decided to make a big change to the focal point above our piano. Here’s what we were working with for the last couple years:
 Those photos are special – Adam took them on one of his many, many trips up Borah Peak. However, as far as wall space goes in our main living area – those two big photos were taking up much of it. We took them down and started dreaming about the blank space (‘cuz we’ve got a blank wall, baby…and we’ll hang a lot of photos on it… #nailedit #tswift4lyfe).
First of all, if the following image doesn’t make your heart race, I don’t know how to reach you…you’ve crossed over.
 Here’s how the whole thing went down. Buckle up.
 Oh, the layout. Picking a layout took…so…much…time. Anyone who’s ever attempted a collage wall knows the struggle. I read this Young House Love post about putting together a collage for their little girl’s room and decided on that approach.


 Though the “let’s just wing it” in me tried to rear her impatient head, I’m so glad we took the time to lay everything out this way.
 Adam pre-drilled holes in our plaster and lathe walls (thanks, 1939) and then placed the screws right through the paper. We tore the paper down and got started.
A tip: Start from the bottom up. When you don’t leave a large amount of space between your frames, you’ll need more wiggle room to get your frames up over the hanger – I figured this out after much cussing and a couple arm cramps.
Without further ado, here are a couple photos of our new happy place:

 Sigh. Don’t worry…that square photo in the middle has been adjusted and velcro’ed to the wall <eye twitch>.
We also printed off photos for the hallway.
A photo for Leo’s doorway…
 …and a photo for Ivy’s doorway (just so we don’t forget where they’re supposed to go).
 I keep stopping to stare at these babies of ours. The kids are cute, too.

-Layne
*This post contains no affiliate links.
 Their renovation included knocking down the partial dividing wall above the sink, new floors, new countertops, paint, tile, and a few other updates.
 That butcher block…swoon.
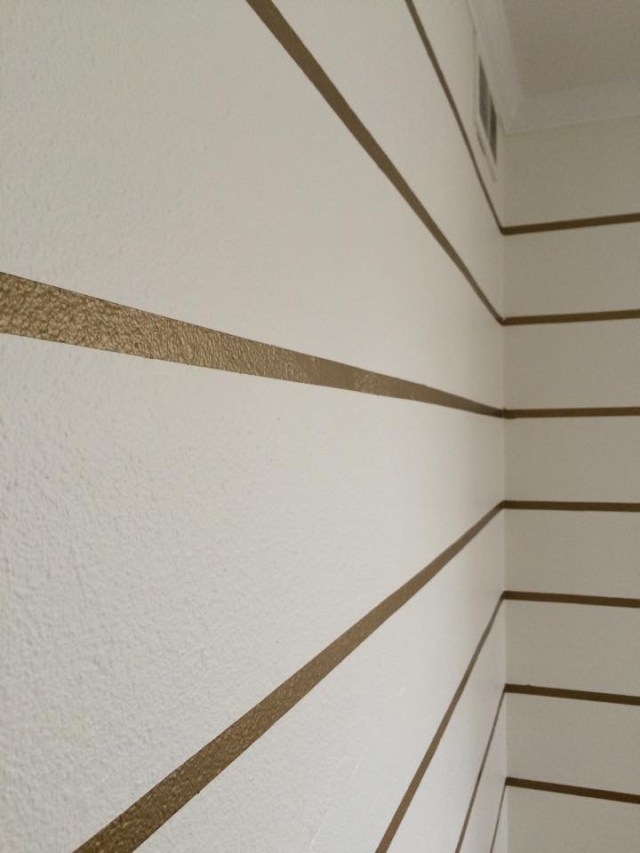
 First, Daniel measured the wall, divided the inches by eight (eight stripes) and marked everything off by tracing faint lines on the wall with a pencil. Then, he and Katy went to town painting these chunky gold stripes (Ralph Lauren Metallic in